
All classic space lego sets have gone through the following 10 step process before you can buy it from the website. You will not believe how bad a condition stuff can be in when received. Sometimes just conveniently forgotten to mention and forgotten to take a clear photograph but mostly people do not care as long as they can sell it. See below….dusty and dirty, dust that eats into the plastic when left in bad condition. It also influences the color, specially since it means it has been sitting in the UV-light for a long period. Reed my how to post on Vintage Lego classic space maintenance and storage for advice on how to keep your collection in good condition.
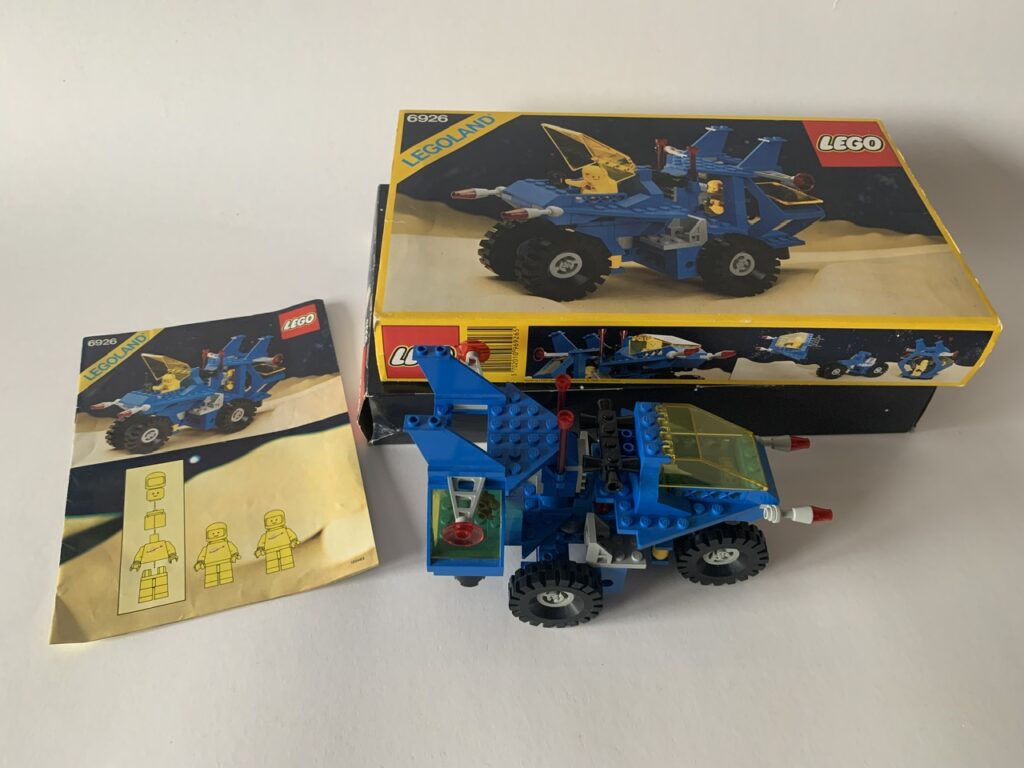
To walk you through the same process all sets for sale have gone through, I used the set I just bought. I want to show how much work (labour of love), time and money goes into preparing a set for sale. Sometimes a step goes quickly or can even be combined and some steps may takes months before the correct element, minifig or instruction sheet in the correct condition can be matched to complete the set. I used the vintage space lego set 6926 Mobile Recovery Vehicle that comes with 2 yellow space men to describe the 10 steps.
Step 1: Arrival and disassembly
The excitement upon opening! Now also know as “UNBOXING”. You always hope for the best but during the past 20 years I am buying and selling vintage I learned to prepare for the worst. So when I can settle for “no hidden problems”or “not too bad” this is all fine with me. I prefer “exactly as described” and very seldom you get a “better then advertised”. But most of the time it is moaning and sighing, this seems to be part of the vintage lego space experience and sometimes really puts me down. But I learned how to cope and often just start disassembly, putting extra’s like manual, box, etc safely to the side.
Step 2: 1st inspection
Now I am ready for a first inspection on teeth marks, heavy scratches, dings and cracks (in wheels, space man a.k.a. minifigs and transparent parts mostly). I also check for correctness of the parts, making sure the parts are period correct (earlier or later production elements) as well as correct color (black instead of grey elements, wrong grey). When the light condition allows ( I need good daylight) I check for discoloration in the parts. Blue can go towards green or light blue, grey can turn brownish and white becomes tan sometimes. Minifigs or their parts that are left go into stock.
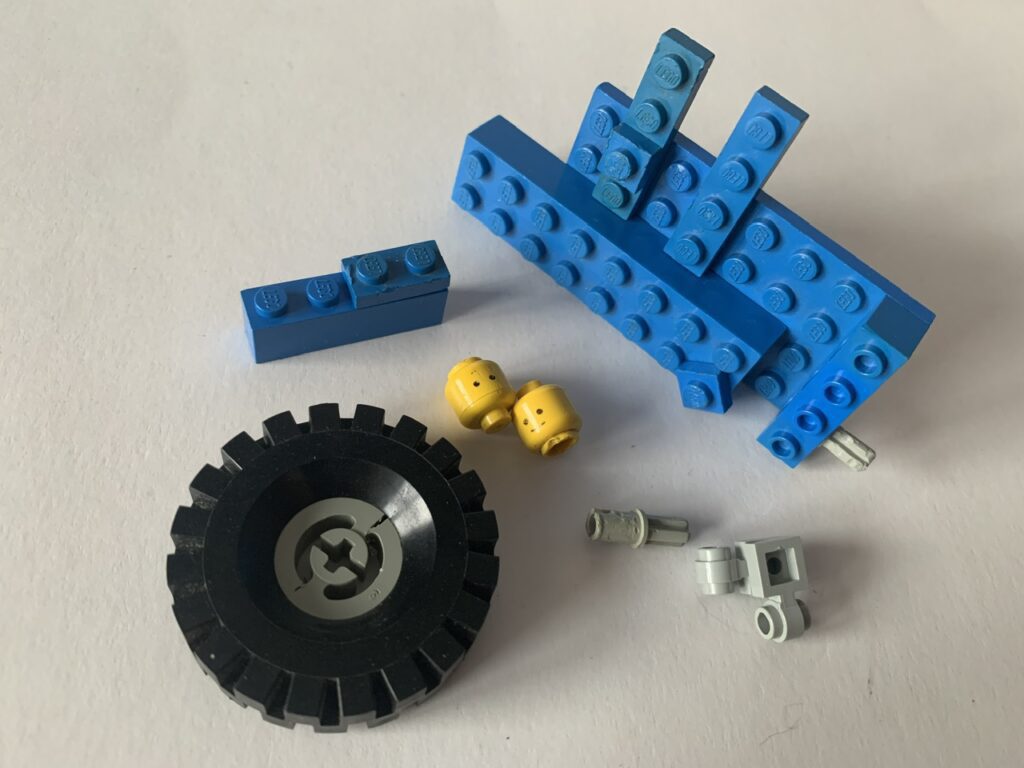
In this case, the bodies and legs were in reasonable condition but the heads were worn and bitten. The some blue elements became greenish, a wheel was cracked, technic elements were chewed as well as some blue parts. The parts in the right lower corner were later manufactured parts (thick versus earlier thin version).
Step 3: Building the set
Correct and better bricks (incl. color match) are interchanged into the set from my stock. Clear daylight is critical for good color matching. I also did a quick search to see if I had enough yellow spaceman and took out two for a quick match. Feels good to build at this point, or at least a whole lot better. So the first assembly for 2nd inspection as shown below.
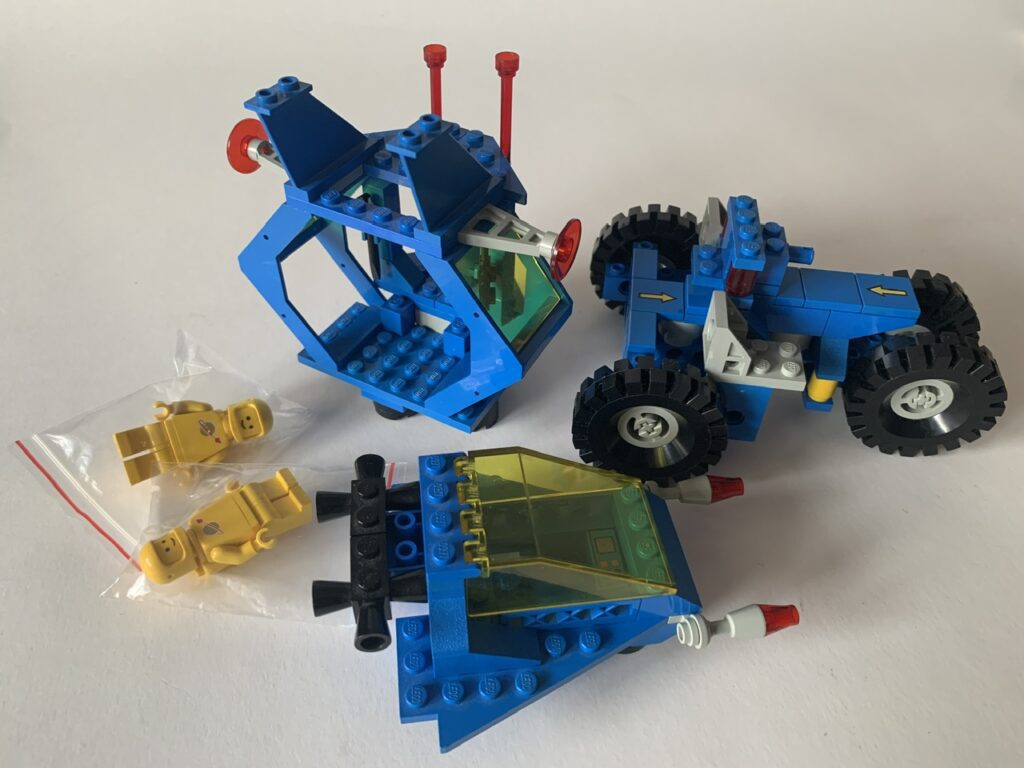
The set seems to be all complete, no elements missing which is mostly the case! Quite unique and pleasant at this early point in the process. But we are only getting started.
Step 4 : 2nd inspection
Now I can do a complete color check, look for teeth marks I may have misted before and any other condition issues I may have overlooked. When build I can tell if the set came together well and if there are no visual defect or distracting elements anymore. For one wrong brick can take the joy out of the complete set I often discovered.
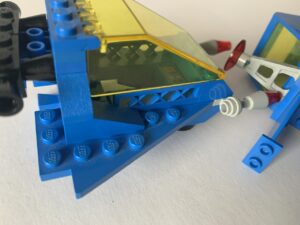
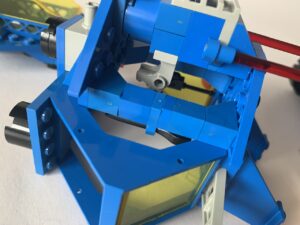
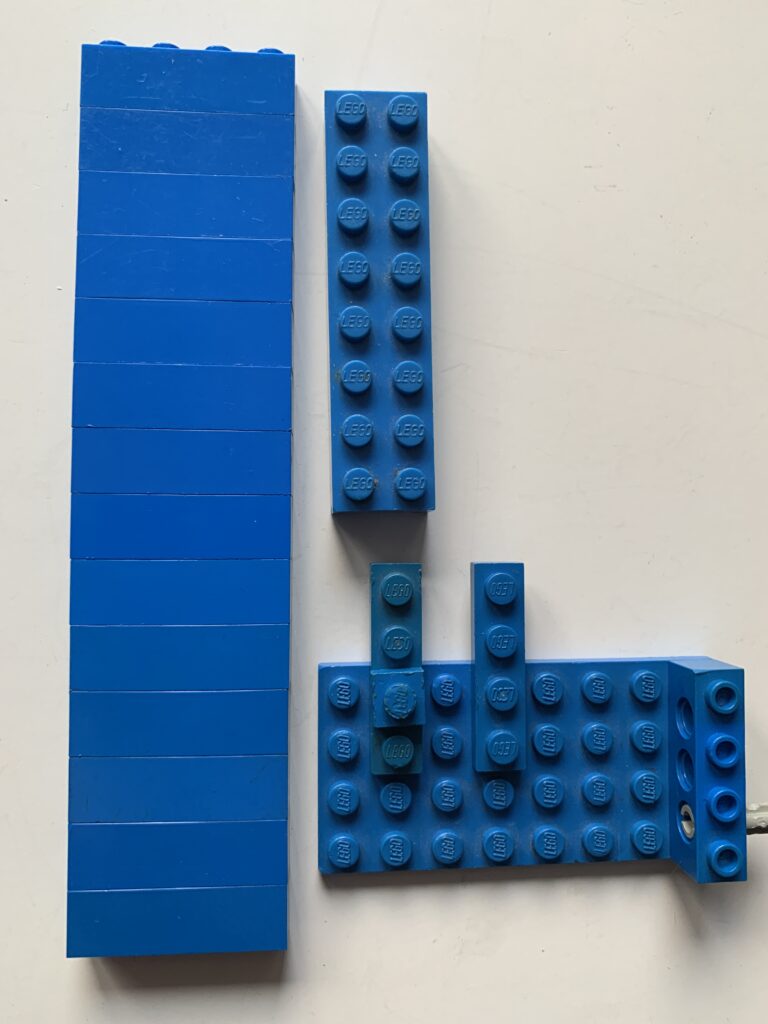
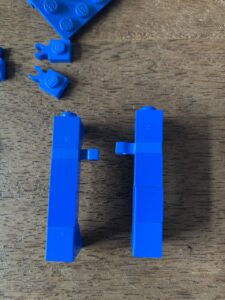
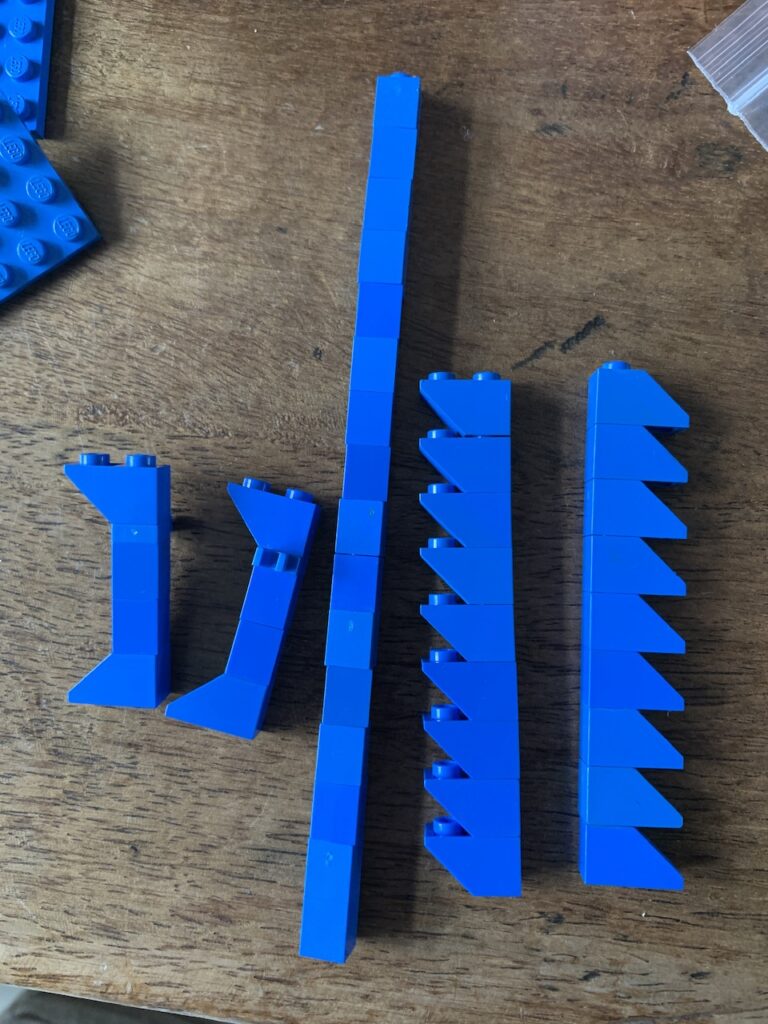
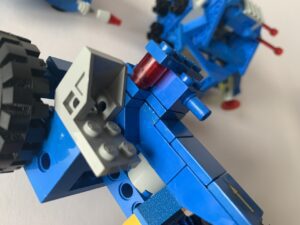 During second inspection as shown in the 3 pictures above, there is still some color difference on the rough wedge section and in the different parts of the small pillar blocks (specially the 1×1 with vertical thin open clip (4085)) when in blue often goes a little lighter over time. This probably has to do with stress and/or added chemicals for more motion in the part so it will not brake. This part also got redesigned, with a thick clip. Then there are some teeth marks I missed in the last picture.
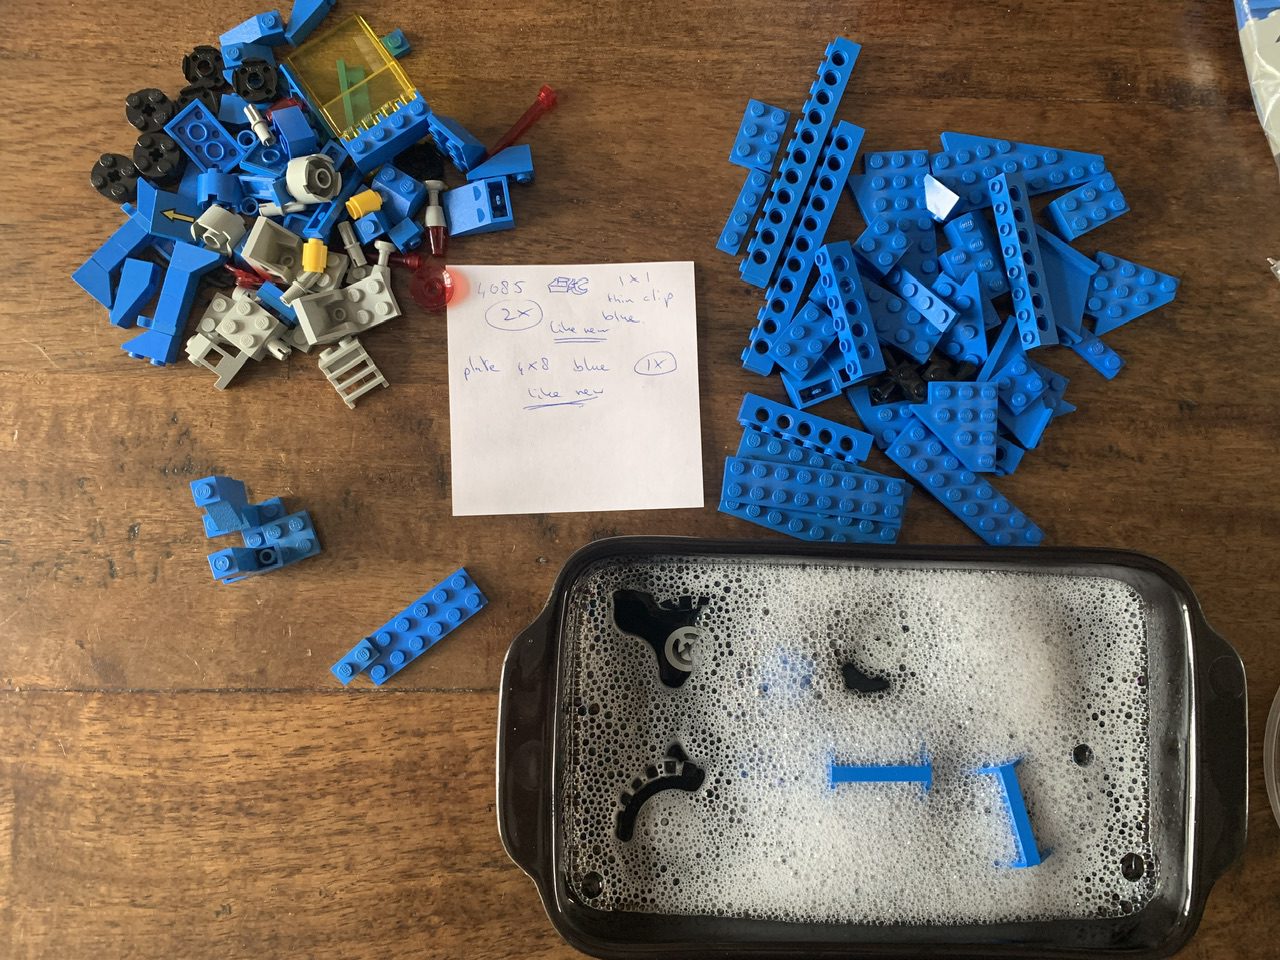
Step 5: Disassembly and color matching
Taking it apart gently with my eyes on the parts I want to take out. I am also putting aside the part that are dusty or dirty. I once again go over all parts with prints, in this case the arrow parts and the cockpit computer. But these are all matching good prints condition and color. I also check the yellow transparent pieces for these are known to scratch more easily then the full color bricks and because they are see-through you more easily see the scratches. Fortunately no cracks and just some small scratches that I can buff out, making them just a bit better.
Above a picture to show more closely what I mean by “the art of color matching”. On the left the element 1×4 brick in blue which I (as many other elements) buy in bulk. It shows how many difference there can be in an acceptable blue bricks. From very blue in the middle to lighter going down or darker blues going up. To the right are the not so blue elements that I took out of the set.
Step 6: Refreshing and close inspection
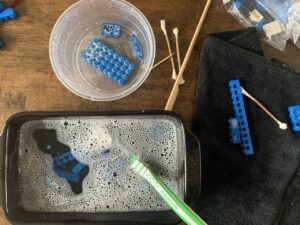
Refreshing refers to all activities needed to get a certain element or the whole set in a better shape. Often starting with dust removal, then there is the washing + polishing out heavy scratches to save an element when needed, but replacing is of course quicker and you know what the result will be. Polishing does not always get you to where you would like to be…grade wise that is. For instance you can not polish a MMC-grade (Make Me Cry condition which I will not sell) element to a HE4D (Highle Enjoyable for Display) grade, I would be happy to get it up to F2BP (Fun to build and Play) grade in order to save it from the bin. Anyway, see action shots below.

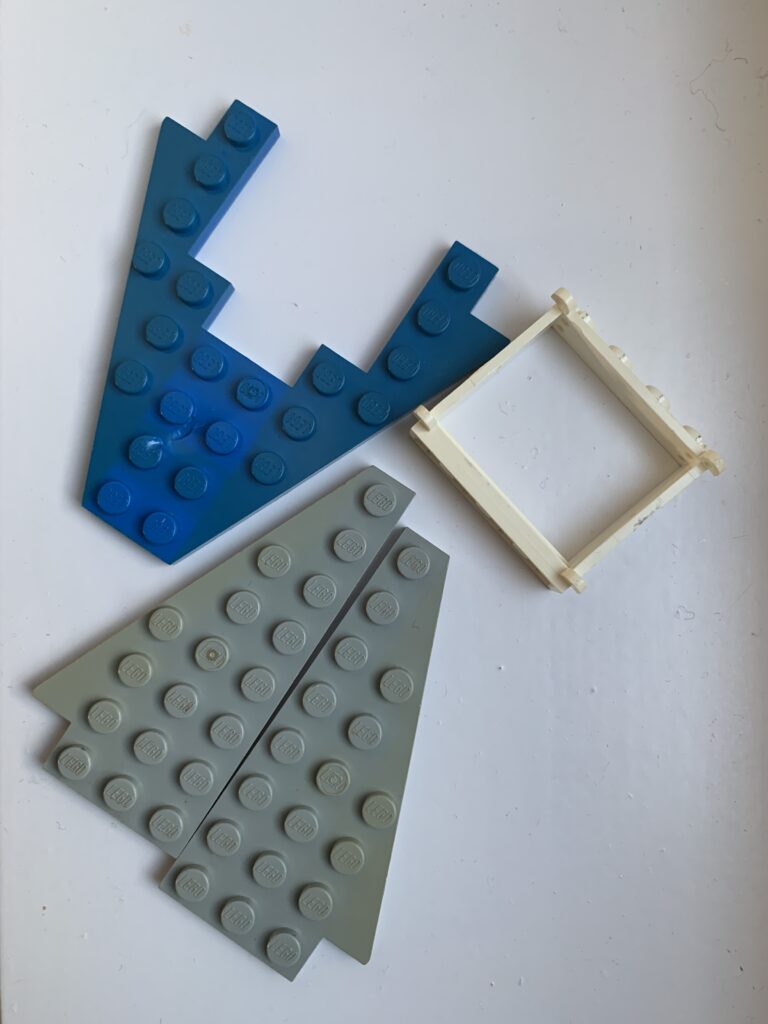
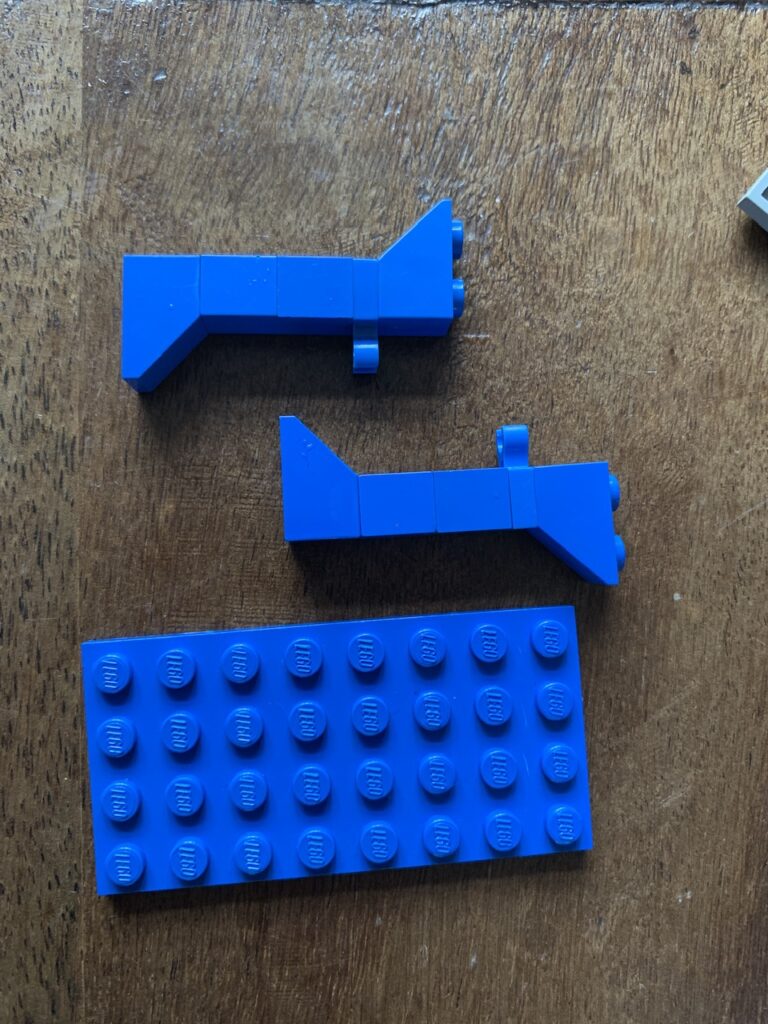
In the lower left corner there are the parts that did not make the cut after refreshing. In the middle my white note on parts that I need to sourced still (not in stock or not in stock in the correct condition). In this case the small blue 1×1 vertical clips, the ones with thin ‘O’-clips which are the originals (not the later thick ones or the ‘U’-shaped ones (they all have #4085). I also need a better color 4×6 blue plate.
Step 7: Hunting down parts
At that point I know exactly what is missing and needs to be sourced. Ordering or buying a bulk or collection. I order multiple used missing bricks which get color matched to the set.
Prices of bricks can vary from a few cents to 25 euro (check out the prices for a good light grey antenna). I have to try different sellers in order to get the different elements but also to sort out which are the better dealers. It seems there is a big difference in how serious brick dealers are. Leading to a big difference in quality of the elements as well as in the service level. Almost all orders lead to me contacting them over quality and quality received.
True story: I ordered for 65 euro (325 items (59 different elements)) within my home country, which is a significant order I might think. It took 7 weeks (including the week it took him to reship) during which I needed to contact him 8 times before he finally was able to ship it correctly. When the order arrived, there were 9 parts missing and some were so bad (listed as “used – very good”) including one that makes me sad.
The only white “used very good” window (ordered 2) I received was not even close to white (the background is). This grey pair was getting brown at the edges ( I ordered 10 pairs and had to bin 5 pieces). The blue one is not only turning green at the edges, the only blue piece on it is so clearly damaged that I really wonder how anyone can honestly sell this.
But this is what I ordered and received to make our 6926 Mobile Recovery Vehicle whole again and getting it up to a good grade.
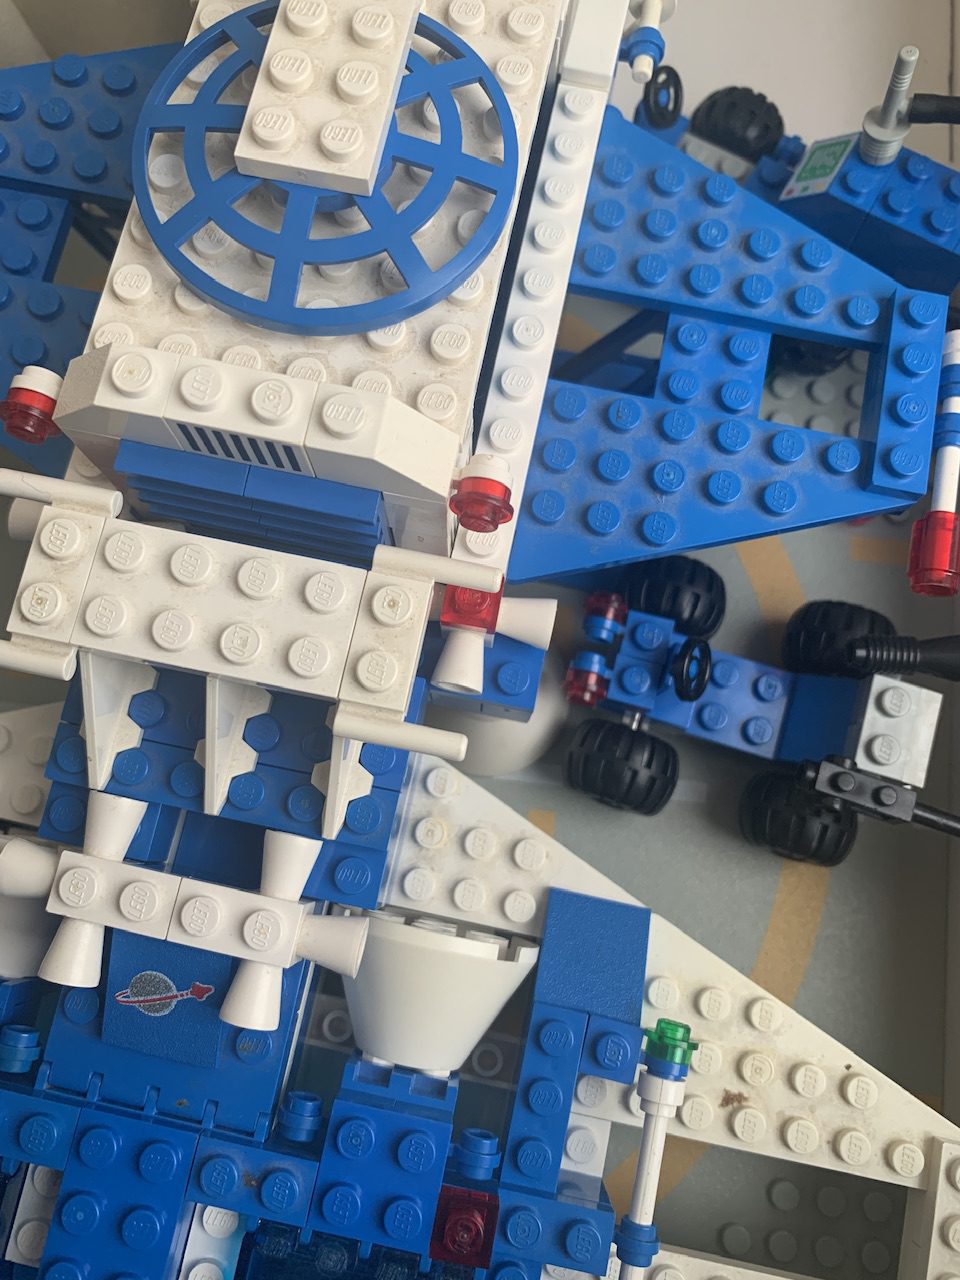
After matching the thin ‘O’-clips (#4085) I was not pleased with the results (see the picture on the right). It seems that there was a special mixture of plastic to give the ‘O’-clip more flexibility or perhaps it was the stress put on them or a combination (they did get redesigned a few times) which resulted in all original ‘O’-clips being a little lighter than the other blue elements. So I searched for other elements that match the color of the clips better because I really like this set to be all original and hitting the HE4D-grade (see pictures below).
Above the end result I will be taking to the next step.
Step 8: Final assembly
Then then I assembled the vintage classic space lego set number 6926 know as the Mobile Recovery Vehiclea once gain, including the newly sourced. When I put in the
step 9: Grading
Once the set is complete I grade it. See Vintage Lego Classic Space – Condition and Grading to learn what my grades F2BP, HE4D and CPR8 stand for! The numbers in the grade are also an indication of the value of set when it makes this grade (2,4 or 8). And it also roughly is the multiplier I use from the average amount (=1) you can buy a random set from a random seller for (the fingers crossed I hope I get lucky but what can I expect for such a price).
I grade this set easily as a F2BP. But considering it has all original early parts and certainly is a rare set I highly enjoy I need to check if I can find a no problem manual and minty yellow spacemen so I can comfortably place it in the HE4D grade. I also had a box somewhere so let’s see where this goes.
Step 10: Matching minifig and instructions
Every good sets needs equally good minifigs and when a sets looks like new, the smile of the space man should match this! I specially look at the logo’s for all teeth marks are thrown out already. The gold on the logo’s tend to fade over time by handling the space man. So for a set rated “HE4D” I would be looking for 2 yellow spaceman with the same helmet and a logo that has all or almost all the gold on them.
And of course the instructions manual should reflect this too.
Final notes
I NEED every set to be at least F2BP grade (Fun to Build and Play with) and provide the vibe I had when I played with these sets in the 1980’s myself. One bad element can take the complete fun out of build and makes is not F2BP any more. You want to be building these with a smile on your face, matching the smile of the classic spaceman. When your eye get distracted to a wrong color, torn up instruction sheet, highly scratched bricks or when a part is missing…I did something seriously wrong. Here I found a set for sale on Ebay (described by seller as “used, very good” which is exactly what I WILL NOT SELL.
borrowed from EBAY (NOT MINE for it Makes Me Cry) – MMC condition
The need to keep on buying
To do my best matching, I am continuously buying loose manuals and special lego classic space elements. As well as loose minifigs which have their own proces of checking and completion in order to be matched to the set. It is time and money consuming but also a labour of love. I do not mind, but it does result in a higher price point than many disappointing sets sold from someones attic or seller as shown in the Ebay picture above “very good condition”.
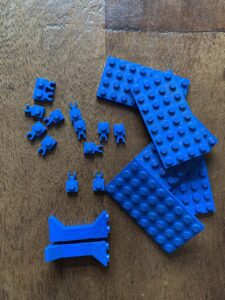
Below is a pictures of my most recent received purchases.
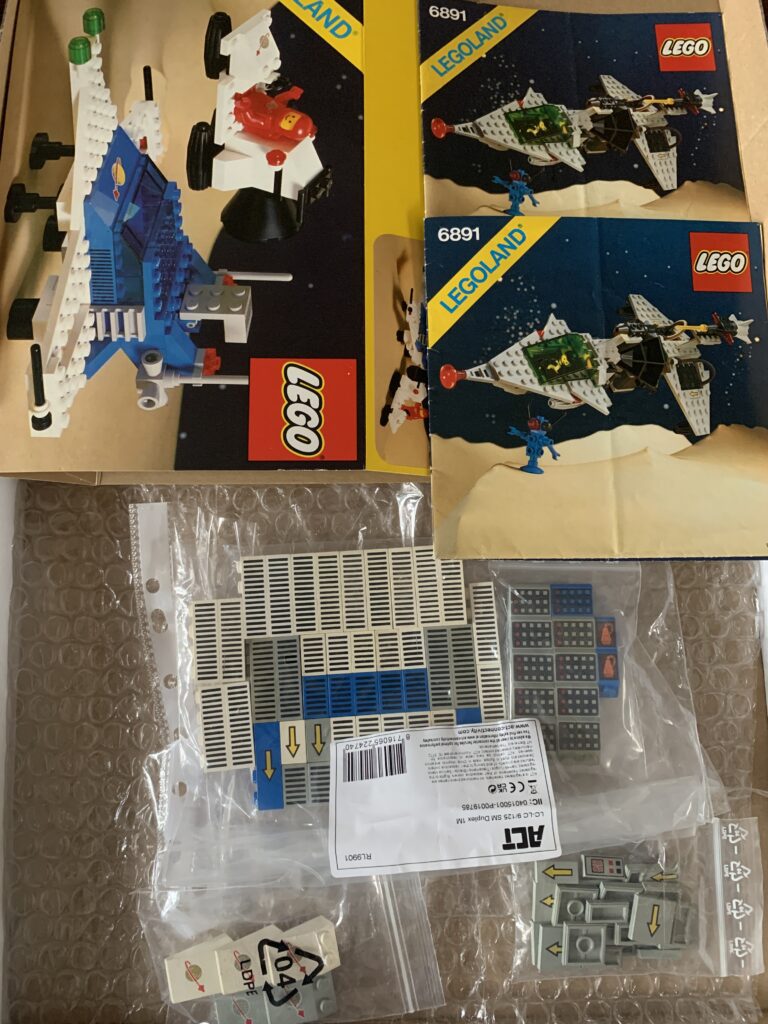
I was able to buy a load of computer slopes, 2x phone bricks, many arrow tiles and grill elements as well as some good condition space logo slopes. I also got 2 very nice instruction manuals for one of my favorites, set 6891 and for my personal collection, the box sleeve for the biggest set I got as a kid, LEGO Cosmic Cruiser Set 6890, which was 2 sets in one!!
For sale on website
Good and plenty photos from all sides, show you exactly what you are buying, these include shots of the important details. My pictures are taken in good lighting condition / daylight studio set up. I even use old and new grey base plates in order to show what tone of grey you are getting (the higher the grade, the closer to very grey). No pictures under bad lighting condition or under lamp light with many shadows. and no flash photographs. In addition my descriptions will be exact and honest and give you an exact grade. The grading details are described in this post.
And for some more information on classic space Lego in general, I got you covered in this article about collecting Classic Space lego.