
In this post I give you some advice on Lego classic space maintenance and storage. It may help you take care of your vintage lego in general and more specifically your Lego Classic Space sets. It is not hard, but there are some things you may not have been considering or be aware of. So you will probably may find some food for thought here. I will be covering how to clean your lego and how to store it, but also what to thing to consider when displaying your vintage lego set and even upgrading some of the elements.
Washing and cleaning
Lego classic space maintenance can include washing your Lego’s. But do not wash your elements with gold space logo’s or other printed elements like computers and grills. You can damage the prints or gold on the classic space logo. Same goes for your Minifig faces and printed body parts. For your normal lego elements the rest of this text applies. You can wash them in lukewarm water or a little hotter say around 120 degrees Fahrenheit or 50 degrees Celsius but not much hotter and certainly not boiling. Let is soak, brush clean with sturdy haired brush / tooth brush and with this temperature you will not burn your hands either. Safety first for you and your lego!
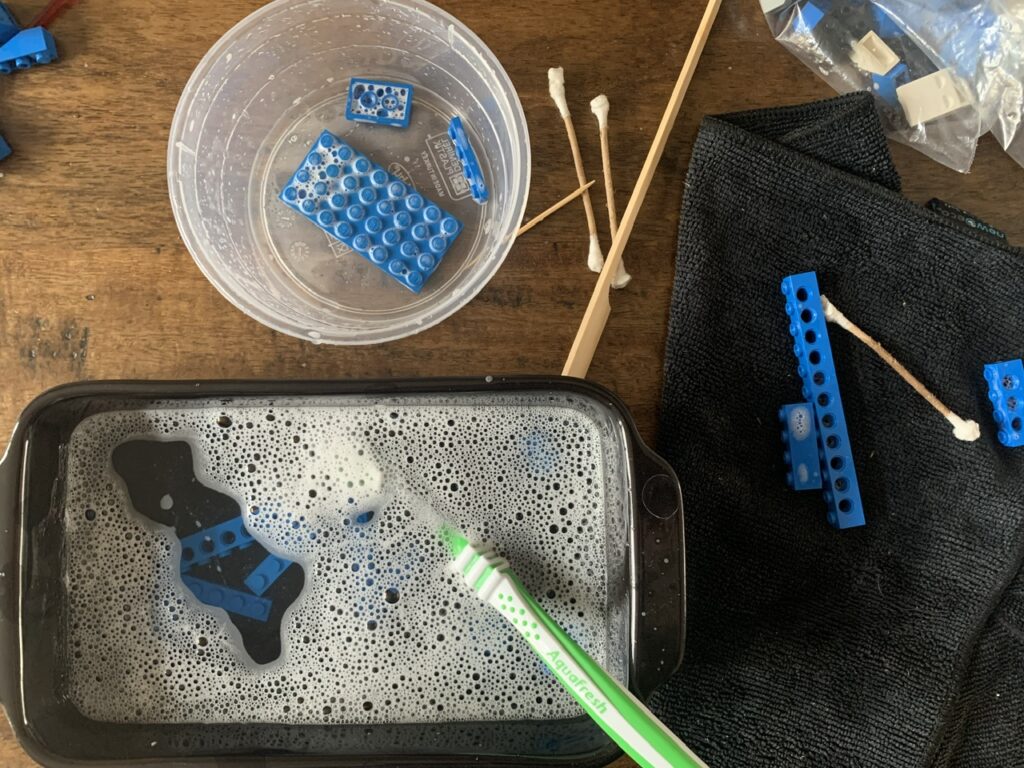
You can use wooden tooth picks and / or cotton swabs (Q-tips) for corners and holes. You can use a micro fiber cloth for rubbing the straight sides over, specially good for the sloped parts with rough surface and dry with soft cotton cloth and the let it air dry the backside or insides that are very hard to dry with a cloth, blowing out excess moist also helps!
Storage
Big part of your Lego classic space maintenance is thinking about storage and display. Always keep your lego when build out of direct sun light and if possible out of all natural (UV) light. When you store it, make sure no light reach it. So you could store it in a dark place or better, store it in a none see-through container.
- Keep your sets free of dust and heat.
- Do not leave them lying around. Store them flat in dark places.
- Store your minifigs separate in small plastic zip lock bags or standing on plates.
- Store your manual in a separate plastic insert / bag.

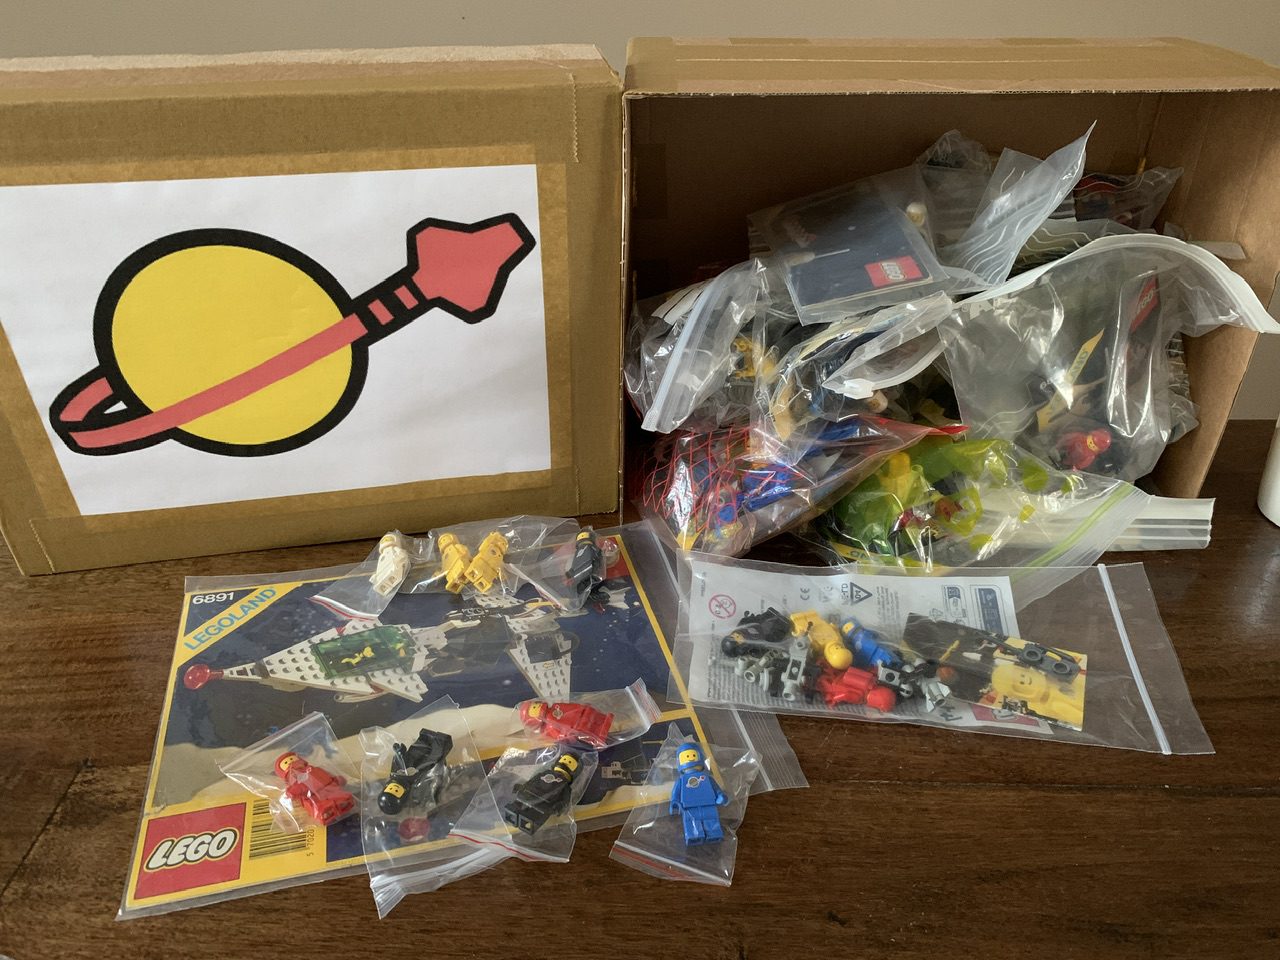
Above the way I store my collections. I took standard size boxes (all dark inside) and put a nice print on the lid. Inside are sets in their separate zip bags. Box get their own zip back to to protect and keep flat. To protect the logo’s of the best spaceman these also go in bags separately. Choose your own way to store but keep all the above pointers in mind (dust / dark / store separately).
If you want to store your classic space sets complete, you can combine and check all your parts using various websites. So you do not need to build it. The other way around, when you encounter a rouge element, you could find out to which set (or sets) this particular loose element can belong to. This is easier for unique parts of course. The easier you can find and go through your sets the better!
Building with your 40 year old lego
Don’t put your lego’s in a large bin all together so you can rummage through. You will unnecessarily scratch them
Keep logo parts and other printed parts separate from the bulk.
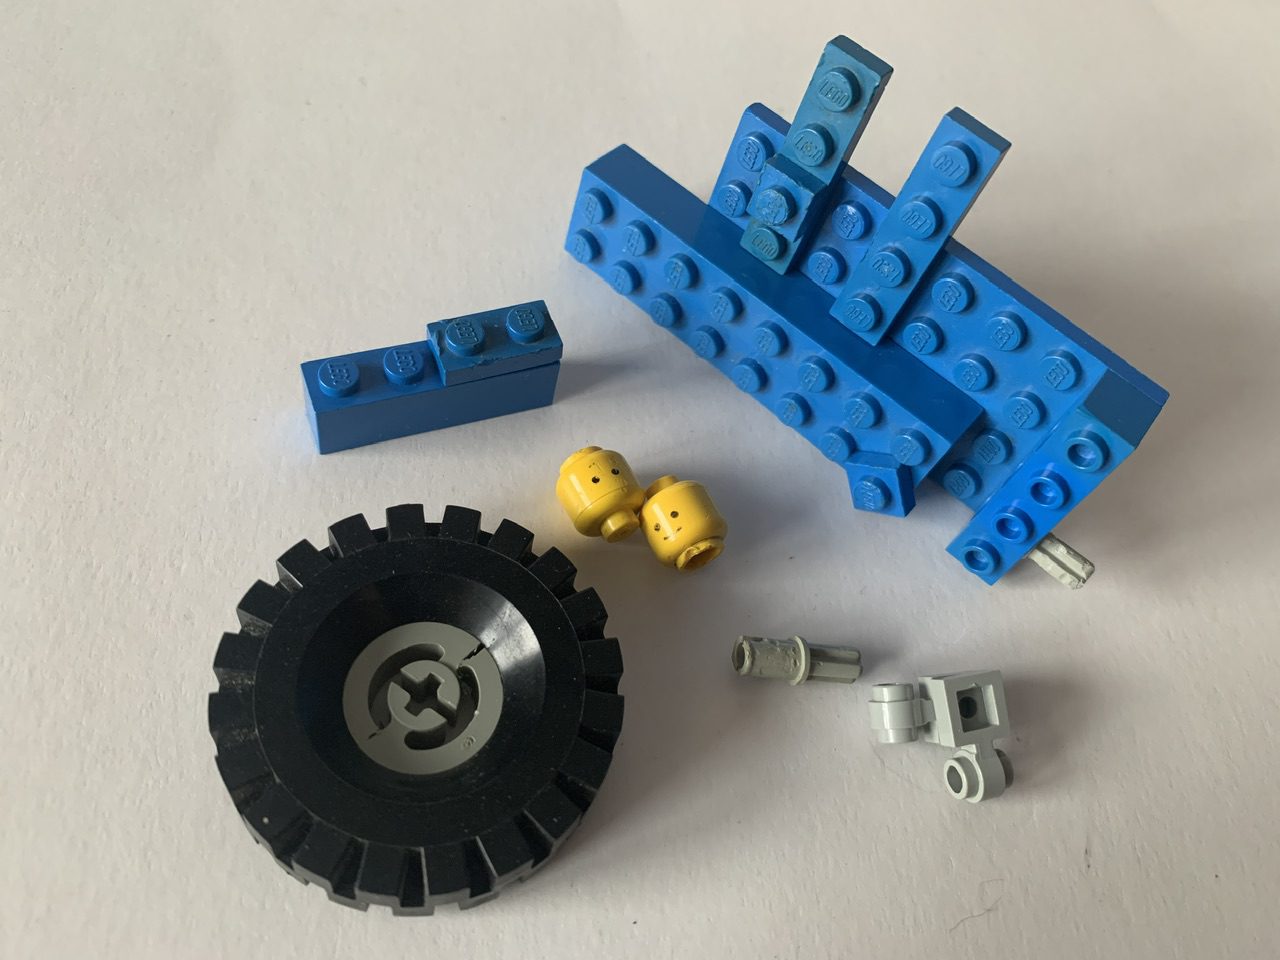
Do not change tires / wheels, because the inside lego part might brake. With age, the plastic lego is made from seems to get more brittle, see the wheel in the picture below.
Handling your instruction sheets
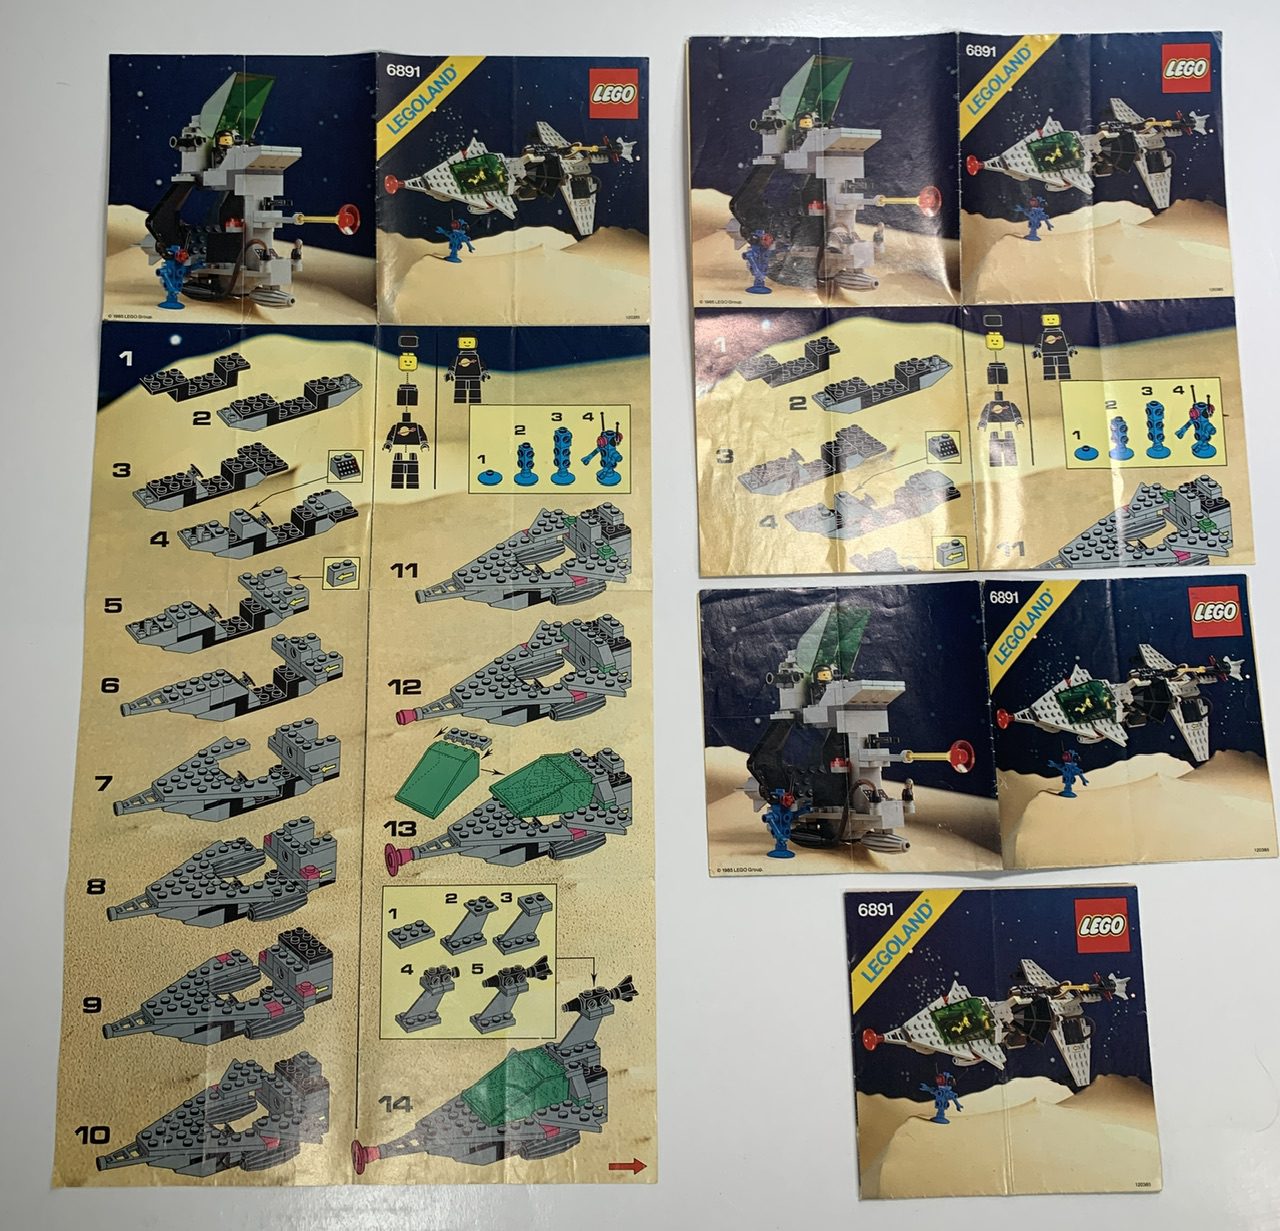
Don’t get your manuals wet and fold them with care over the correct lines. Most fold up first time in the middle and then in smaller segments, keeping the build set picture on the front. As shown below. Step 1 from the top down in front, step 2 from the down the other way around. This goes for all small instructions sheets. It is a 50% fold rhythm where the front page, displaying the set the same as on the box comes out in front and an other picture on the back, building steps /instructions hidden in the centre.
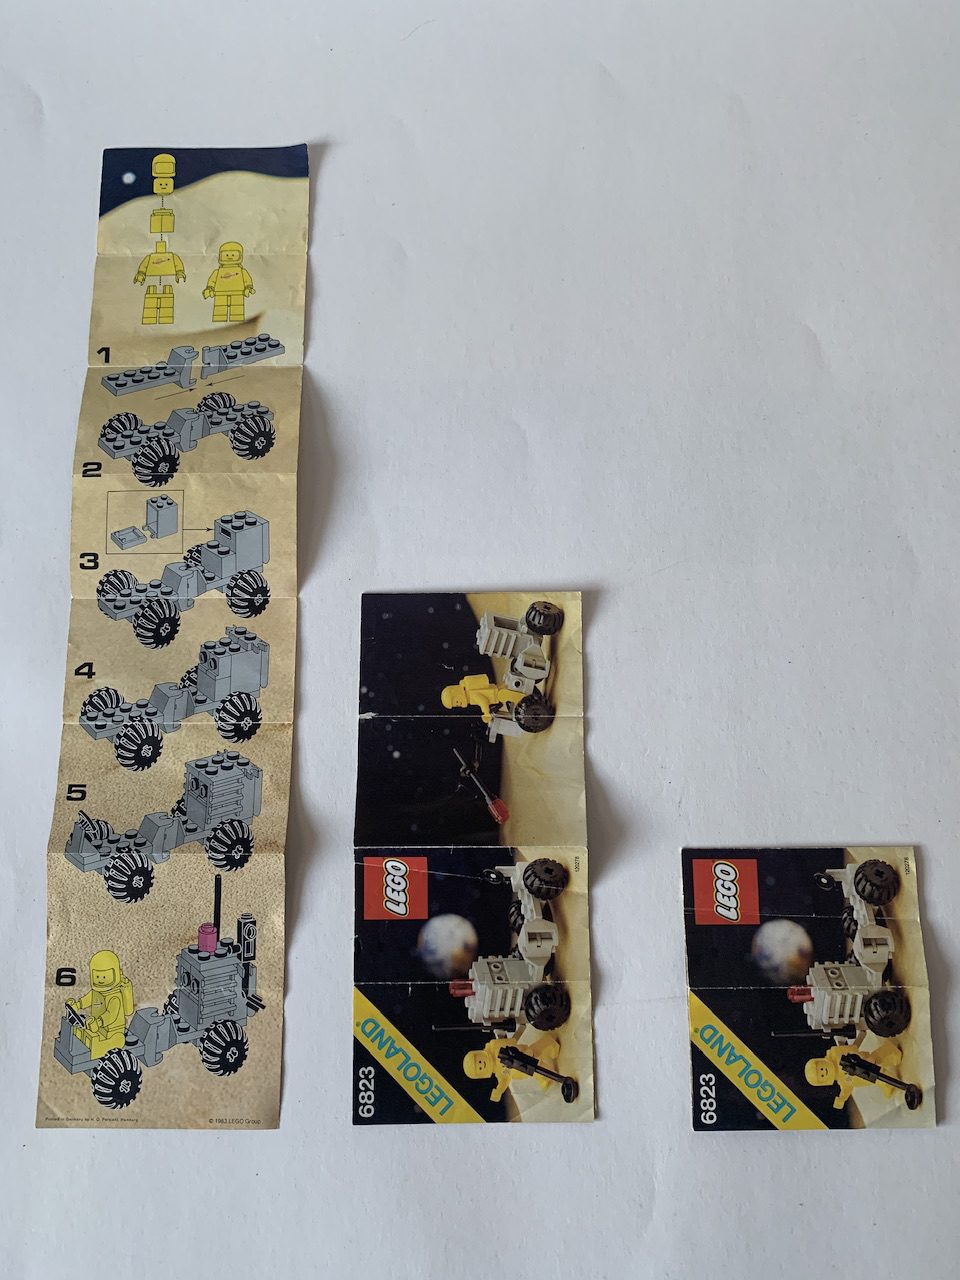
The larger instruction sheets (non booklet versions) go like this:
Tip: Download the instructions sheets and store them on your device or print them out. Specially when you are using them more often. A good website is www.toysperiod.com that has a complete classic space reference section.
Handling during play with old lego
Do not pick up your items or minifigs with your fingers on the logos / prints.
Do not put extra stress on wheels, small parts or minifigs. Wheels and transparant pieces can crack and break. Small parts or large thin parts can bend. Some special pieces have been firstly introduced in the vintage space lego sets made between 1978 -1987. These pieces have been redesigned by lego after detected problems due to use. Other pieces and materials are now, after 40 years displaying problems, so also something to be aware off.
So take good care of your transparent lego parts. Do not step on windos or bump them to a wall when flying or pushing your vehicle through the room. The transparent pieces crack more easily and it shows! The antenna’s and small piece can crack as well.
Teeth marks and bite marks on your Lego
First of all…always try to avoid making them! Lego is rather soft, so handle with care! Never, ever use your teeth. Use a tool! The Brickblogger tells us all about tools it in this article.
You can try to sand back a little by little by using very fine 1000 – 2000 grid sand paper and if needed shine it back up a little by removing scratches and polishing it (see below under “scratches on your Lego).
There is a video on YouTube with a “hack” for restoring your lego. This has a very small succes rate and a very large risk. Your lego melts and burns easily, which may lead to warping and discoloring. So it can only be used as a very last resort, but I thought I share it anyway.
Concerning tooth marks you will find it is much easier to harm your lego element than to restore, so be gentle with them.
Scratches on your Lego
You can polish out scratches by using abrasives like copper shining fluid by “Brasso”. Do not use this on prints and logos on your lego because this will only wear them thin further or even wipe them out completely.