Winter 1970. Only a few channels on TV. Fireplace lit. You are 14 years old and finaly your dad is home for a longer period of time since business is slow due to bad weather. Out of nowhere your dad asks if you feel like doing something together. You go like “sure, like what?”. Dad says it involves fire, dangers tempretures of about 300-400 degrees Celsius. So you are like “NICE”, because your interest is woken. Dad ups the ante and says it also involves manslaughter, canons and battle. Now you are really intrigued (?)! “TELL ME, TELL ME. So dad explanes you are going to building your own army from scratch…together! Exactly the way you want them to! You are going to make toy soldiers.
What is toy soldier making about?
Basically it is about 4 steps. Casting, Preparing, Painting and Display.
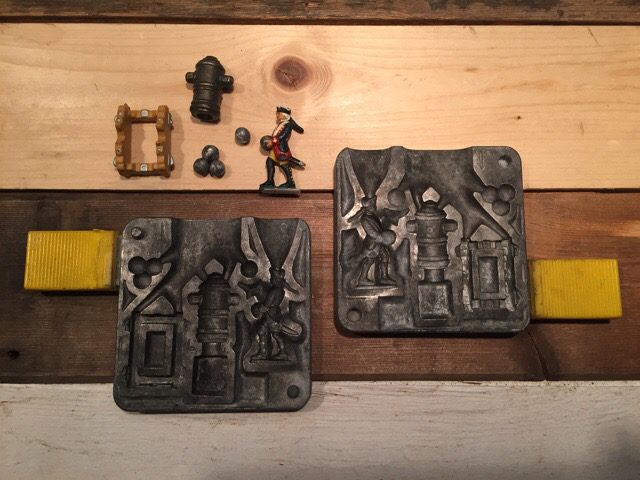
Step 1: casting your own figures.
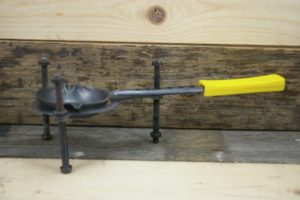
For this you need: molds + clamps, lead/pewter pieces, heat source, melting spoon + spoon stand, talk powder, large brush and pliers. We wrote an article on the different kind of molds / casting moulds available on the vintage market.
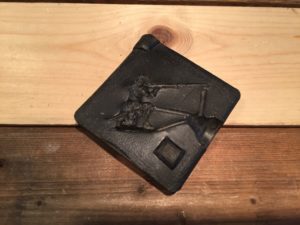
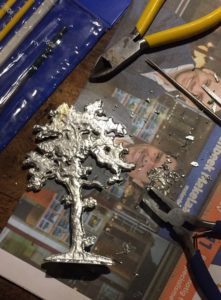
So you put your melting spoon in a stand over a heat source. Heat source can be a gaz stove or small chemical burning blocks or a melting pot. You put in the pewter and heat them untill they melt and get a purple or oil like color. You prepare your aluminum or rubber molds with a thin layer of talk powder and clamp them together. You poor in the molted pewter, wait a few minutes and use the pliers to get your figure out. It is that simple.
Step 2: preparing your casted figure
For this you need: pliers and different type of files.
When your figure is casted correctly and all pieces came out ok (bad pieces you just melt again), you are ready for filing. You use pliers to cut of the excess pieces and file down where needed. You can bent arms or solder on rifles / instruments, or just glue them on.
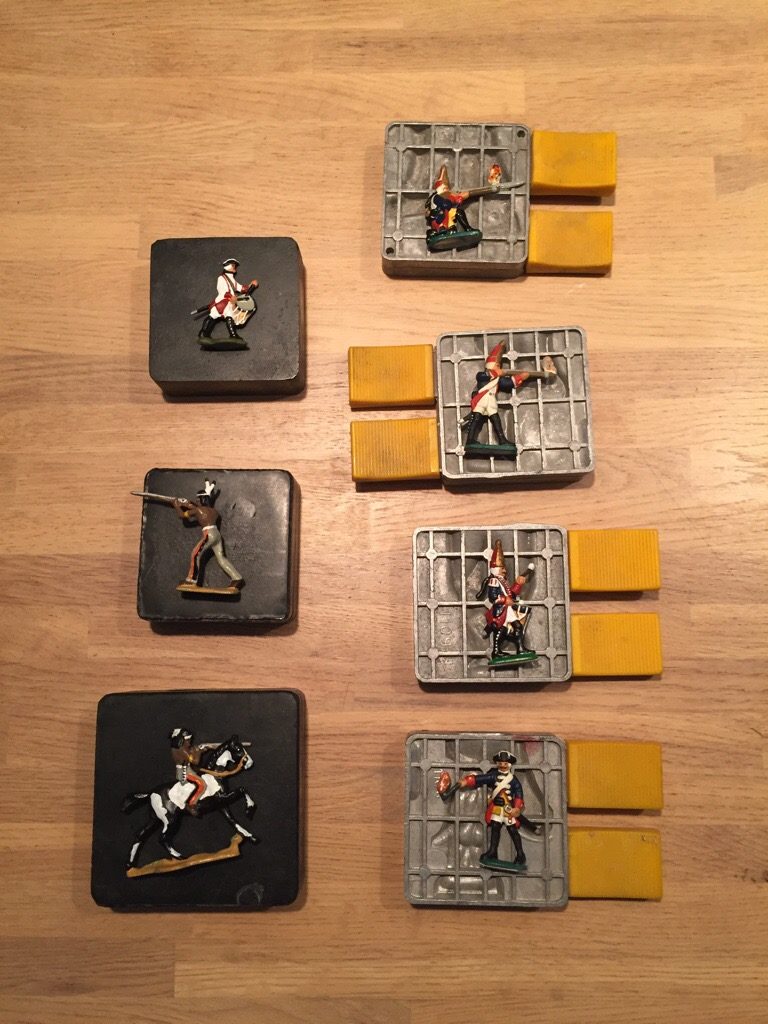
Step 3: Painting
For this you need: several colors of paint and different type of small brushes.
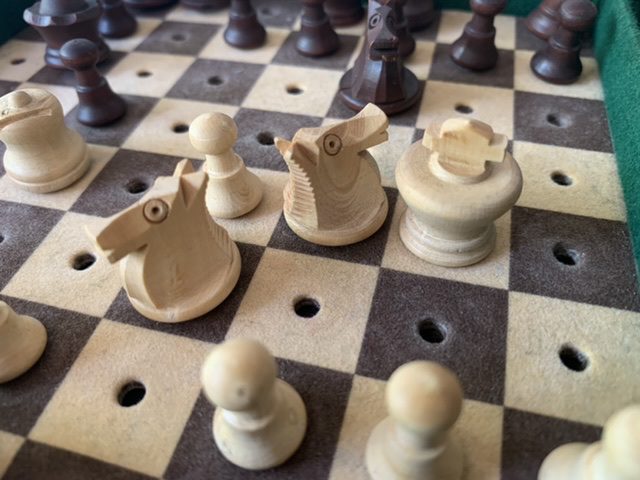
Then put on a layer of basic paint, prefarably the color the largest piece of your figure will be covered in. For instance if you are making a black horse, use black as the base paint, not red or white.
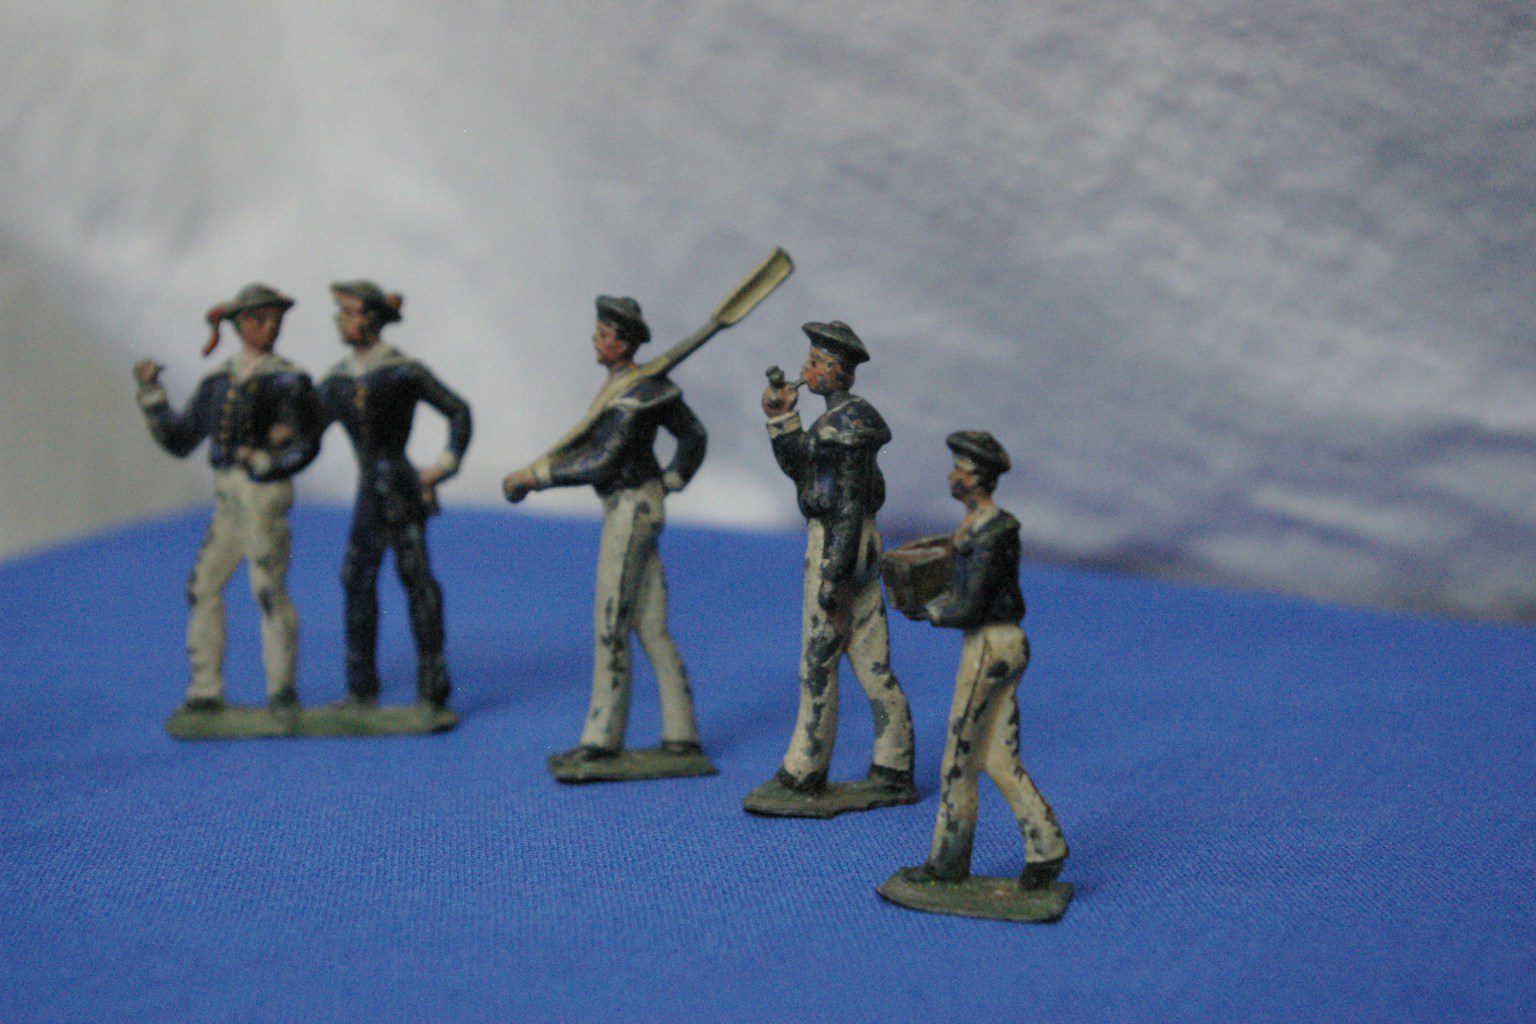
Chose your your colors and start painting details from rough to detailed. This largely depends on your skill set. But a little paint in the right places realy brings a figure to life. You paint the stand last, mostly in green or dirt brown, depending on what type of ground your figures will be set in.
Step 4: Display
For this you need: Some fantasy or historical correct images.
Depending on the type of figures and the amount you made. You can make a display of a war scene, action or still. You can try wargaming or just set them up to show off. Just start somewhere depending on the amount of space you have, preferred in a covered area.